How to Stain Wood: A Beginner-Friendly Guide for Furniture Makeovers
Learn how to stain wood step by step, choose the right wood stain, and get beautiful results on furniture and more.

The short answer: How do you stain wood?
- Clean the surface.
- Sand the wood smooth and remove dust.
- Test your stain in an inconspicuous area.
- Apply the stain evenly with the grain.
- Remove or blend excess stain as directed.
- Add another coat if you want deeper color.
- Let the stain dry.
- Apply a protective topcoat if needed.
Staining wood is one of the easiest ways to change the look of furniture without covering up the character that makes wood beautiful. A good stain can deepen the grain, change the tone, refresh an older piece, or help a new project fit the style of your room.
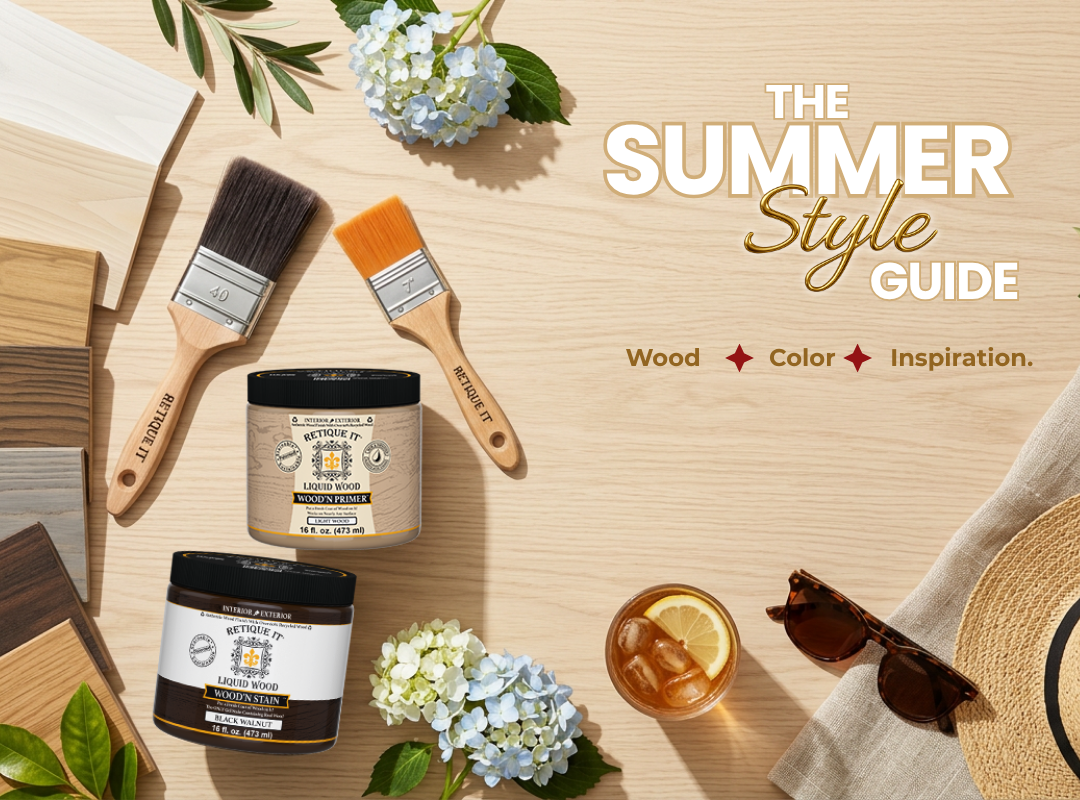
Retique It® Liquid Wood can create a real wood surface over many hard surfaces so you can achieve a natural wood finish. Learn more about Liquid Wood.
1. Which Type of Wood Stain Should You Use?
The right stain depends on your project, work area, desired color, and cleanup preferences.
| Stain Type | Best For | Advantages | Things to Consider |
|---|---|---|---|
| Water-Based Wood Stain | Furniture, cabinets, doors, DIY projects | Low odor, easy cleanup, faster drying | Faster drying gives you less working time |
| Gel Stain | Furniture, vertical surfaces, existing finishes | Easier color control and reduced dripping | Application technique can affect opacity |
| Penetrating Stain | Unfinished natural wood | Highlights existing grain | Wood species can absorb color unevenly |
| Wood Finish with Stain | Makeovers and surface transformations | Can simplify a multi-step project | Follow the specific product system |
2. What You Need
- Your chosen wood stain or wood-finish system
- Clean lint-free cloths or staining applicators
- A quality brush if recommended
- Fine-grit sandpaper
- A clean cloth or vacuum for removing sanding dust
- Gloves and a drop cloth
- A compatible protective finish when needed
3. Step-by-Step: How to Stain Wood
Remove grease, dirt, polish, and residue before you begin.
Smooth unfinished wood and remove all sanding dust.
Use scrap material or a hidden area to confirm the color.
Work in manageable sections and follow the grain.
Blend or remove excess stain according to product directions.
Add another coat only after the first is ready.
Dry time depends on stain formula, temperature, and humidity.
Use a suitable topcoat when your project needs extra protection.
For Retique It-specific instructions, visit the Retique It Instructions Center or the Smooth Wood Finish Instructions.
4. Traditional Staining vs. a Liquid Wood Makeover
Traditional Staining

- Works best on unfinished natural wood.
- May require sanding or stripping.
- Highlights the existing grain.
- Ideal for raw wood projects.
Liquid Wood Makeover

- Creates a real wood surface over many hard surfaces.
- Useful for painted furniture, laminate, MDF, and more.
- Avoids stripping a piece all the way back to bare wood.
- Lets you create a natural wood-style finish on a new starting surface.
5. Common Wood Staining Mistakes
Wood can look dramatically different after stain is applied.
Dust can become trapped and leave a rough final texture.
More stain does not automatically mean a better finish.
Give each step the drying time required by the product.
Stain adds color to what is already there; it is not opaque paint.
Laminate and raw wood require very different approaches.
6. What If You Would Rather Paint the Furniture?

If you want a solid color rather than visible wood character, furniture paint may be the better choice. Retique It® Furniture and Cabinet Paint is designed for furniture, cabinetry, vanities, tables, dressers, doors, and other makeover projects.
Explore Furniture & Cabinet Paint7. Frequently Asked Questions
Do I have to sand wood before staining?
For traditional unfinished wood, sanding is generally an important part of creating a smooth and consistent result. Existing finished surfaces may require a different prep process depending on the product system.
Can you stain over paint?
Traditional penetrating stain is designed to interact with wood rather than an opaque paint film. If you want to create a wood-style finish over paint, a product designed to create a new wood surface may be a better fit.
Is water-based wood stain good for furniture?
Water-based stains can be a convenient option for many indoor DIY projects because they generally offer easy cleanup and lower odor.
Do you need to seal wood after staining?
It depends on the stain system and how the surface will be used. High-use surfaces typically benefit from appropriate protection.
Ready for Your Next Furniture Makeover?
Staining wood opens up endless possibilities for refreshing, restoring, and upcycling your favorite pieces.
Shop Wood-Finish Solutions
Always follow the product instructions for the specific Retique It® product you are using.